

THE HAKKA JOURNAL
Ingredient Bin Setup for Bakers: Check Access Before You Stack
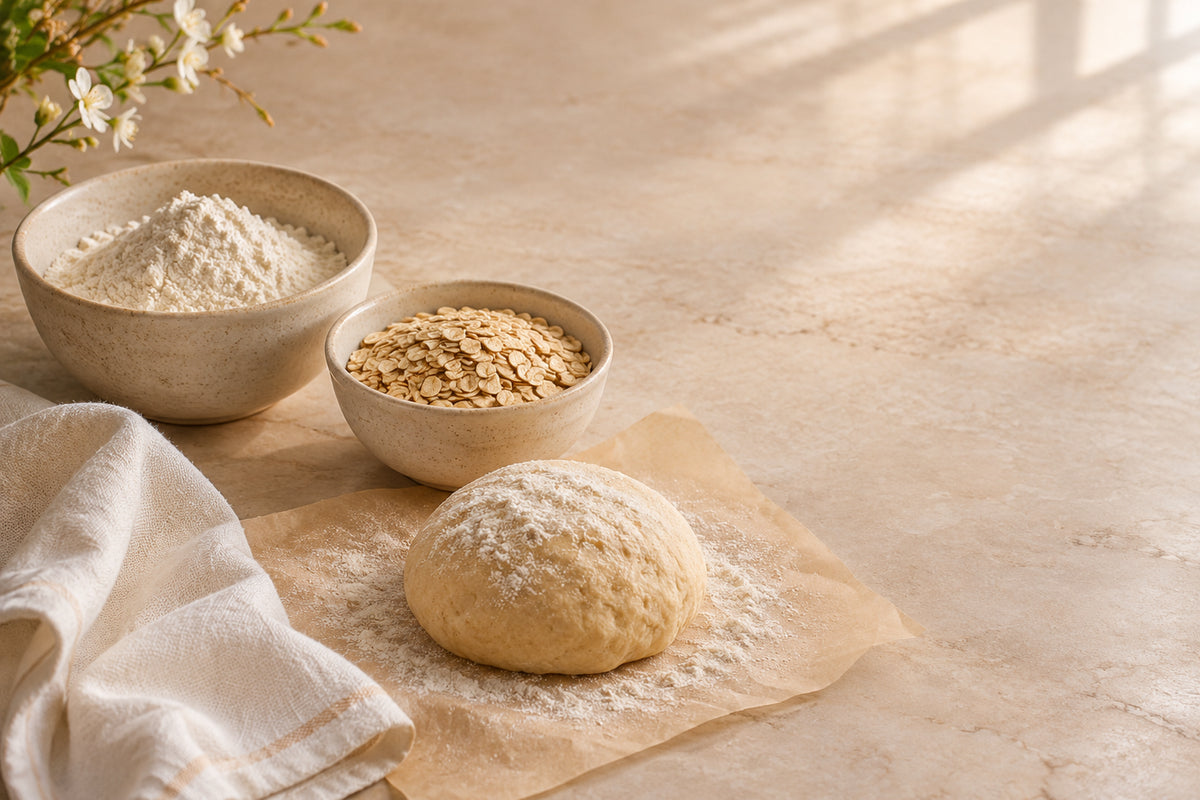
A useful ingredient bin setup gives staff room to identify an ingredient, open the lid, take out what they need, and return the container to its normal position. If a bin only fits while closed, the shelf arrangement is not finished. For bakery prep, test the full access routine before filling every available space with storage.
This guide focuses on shelf access and replenishment using the Clivia S8 shelf ingredient bin as a practical product reference. It is about organizing the work around a container, rather than treating its capacity as the only buying decision.
Ingredient bin setup starts with the open position
Measure the shelf space and compare it with the exact model's current dimensions. Then check the movement needed to use the container. An opening lid, a hand reaching inside, and a scoop being lifted out all need space beyond the closed footprint.
Include nearby shelf supports, adjacent containers, and the work happening in front of the shelf. Staff should not have to move a tray of prepared ingredients every time they want flour. A layout check is easier to make before the station is stocked than during a busy preparation period.
| Check | What to verify |
|---|---|
| Closed fit | The exact bin fits the available shelf space and suitable support surface. |
| Working access | The lid and intended utensil can be used in the planned position. |
| Removal access | The container can be removed for the tasks described in its instructions without dismantling the entire station. |
Give each ingredient a recognizable place
Group ingredients around the recipes and tasks that use them. Frequently used flour should be easy to find; less frequent additions do not need to occupy the same position simply because their containers match. Keep your normal ingredient identification and stock-rotation procedures visible in the arrangement.

Do not rely on appearance alone to identify similar-looking powders. A clear cover can make the contents easier to see, but the station still needs the identification your team uses. Keep recipe documents and the weighing area in a place that does not block access to the containers.
Plan replenishment before choosing the final position
Think through how a new ingredient delivery reaches the bin. Where will the package be placed? Can the container be accessed or moved as required by its instructions? Will replenishment force someone to stand across the weighing area or the main passage?
A shelf arrangement can work well for routine scooping yet be inconvenient to refill. Mark out a temporary working space for that task rather than assuming the same small opening will serve every purpose. Coordinate replenishment with the station's normal cleaning and stock-handling routine.
What to check on the Clivia S8 product page
The current Clivia S8 shelf-storage ingredient bin listing describes a clear cover and access to ingredients while bins are stacked. Those features are relevant when planning a compact dry-ingredient station: visibility helps with a quick contents check, while the opening arrangement affects whether another container must be moved first.
Before ordering, confirm the current dimensions and the intended shelf arrangement. Check the supplied instructions for the permitted stacking configuration, support and loading. Access while stacked does not, by itself, specify an unlimited stack height or establish a shelf's load rating.
Choose the size and number of containers around the ingredients you need at the station. A larger container is not automatically a better replacement for several separately identified ingredients. Avoid estimating a flour weight from a capacity label without a verified ingredient-specific specification.

Before-you-buy and setup checklist
- List the ingredients: record which recipes use them and how often staff need access.
- Measure the space: compare the exact product dimensions with the intended shelf.
- Test opening and reach: include the lid, utensil, nearby containers and staff access.
- Review stacking guidance: follow the product instructions and confirm the shelf is suitable.
- Plan refills and removal: keep a workable route for replenishment and routine cleaning.
- Check the next task: leave the weighing and preparation area accessible.
For the wider station, read our guide to reducing kitchen prep bottlenecks. If ingredient handling feeds into dough production, our bakery dough mixer sizing guide covers a separate equipment decision.
Frequently asked questions
Is fitting the bin under a shelf enough?
No. Check the working position as well: lid movement, utensil access and the route for removing the container. The closed dimensions are only the start of a layout check.
Can the Clivia S8 be accessed when stacked?
The current listing describes access to ingredients while bins are stacked. Confirm the specific arrangement and loading in the supplied product guidance before setting up a stack.
Does a clear cover replace ingredient identification?
It helps staff see the contents, but similar-looking ingredients can still be difficult to distinguish. Continue using the identification and stock-handling procedures established for your operation.
Should all reserve ingredients sit at the weighing station?
Plan the working stock and replenishment route together. Keep the preparation area usable instead of surrounding it with every container. The right arrangement depends on the recipes, available space and frequency of refilling.
Keep exploring
All guides ↗
Choosing the Right Smoker Oven for Restaurants
Choose a smoker oven for restaurants with the capacity, temperature control, recovery time, and build quality needed for consistent commercial service.
Read the guide
Pizza Peel Size: Check the Head, Reach and Workspace
Choose a pizza peel by checking the working head, assembled reach, and station space. Review two Clivia detachable-handle options and a practical buying checklist.
Read the guide
Best Equipment for Burger Kitchens That Perform
Choose the best equipment for burger kitchens with practical guidance on griddles, refrigeration, prep, frying, holding, and workflow capacity planning.
Read the guide
Join the conversation